Wall insulation options
05 June 2017
We’ve finally taken the plunge, and decided to get some insulation installed in our house. All modern homes have good insulation in pretty much all areas — the ceiling, the walls and under the floors.
Our house was built in the late 1920s, and had virtually no insulation when we bought it several years ago. We have added insulation in the easy to reach areas — initially the ceiling (giant blankets), and then the underfloor (polystyrene panels).
The next step is to add insulation to the walls. In this post, I’ll outline the two options we considered.
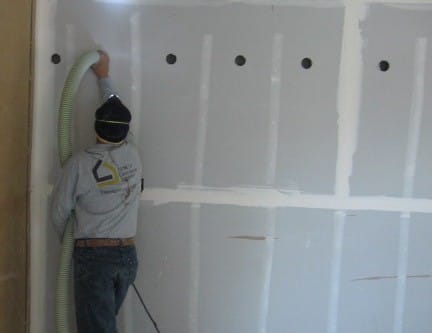
Blown in “fluff” insulation
This involves drilling small holes in the walls of approximately 2 cm diameter. These holes can be drilled either into the internal walls, or through the weatherboard exterior walls. There is typically one hole drilled for each stud/dwang section — so a standard sort of wall (with one window) might end up with around 20 holes.
An installation truck then arrives with a rather long pipe, and pumps “fluff” fibre into the wall through the holes. They hope to pack in the fibre as dense as possible, and fill the entire volume of the cavity. The sales documentation suggests that they normally achieve a satisfactory fill.
We rejected the idea of drilling holes in the exterior weatherboards. Our weatherboards are approaching an age of 100 years old, and the reason they last so long is because they are cared for with regular painting and maintenance. I believe that drilling hundreds of holes in the weatherboards would lead to premature ageing, and consequently trouble, in the medium to longer term.
We did consider the internal access installation technique, where the same holes are drilled into the “gib” board to plasterboard of the exterior walls of each room. After installation, these holes would need to be plastered over, and then repainted.
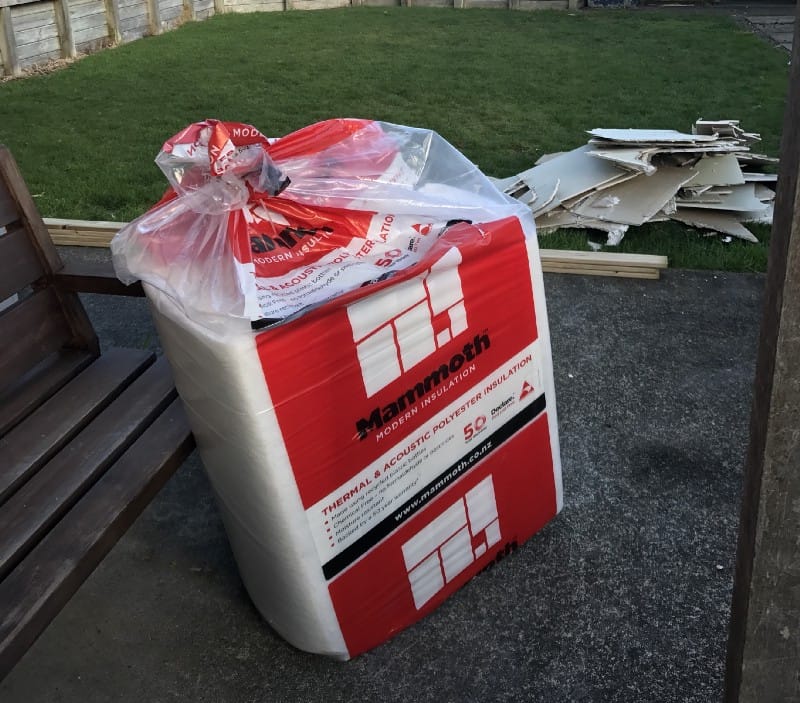
“White Batts”
The other option we considered are insulation panels or “batts”. They don’t really seem to have a name, but are they rectangular insulation blocks with dimensions of 76 cm x 36cm x 9cm.
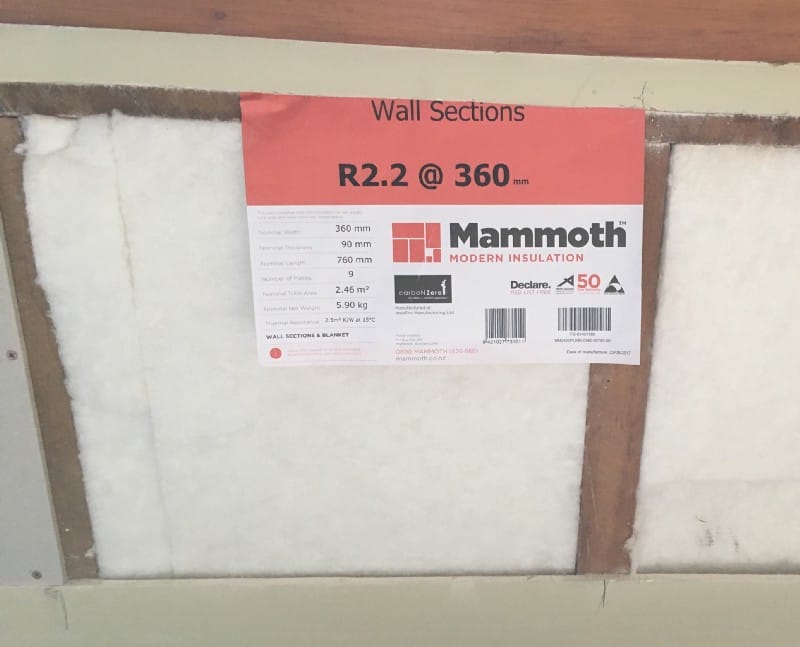
They are made from recycled milk bottles and are rather dense. They hold their shape pretty well, so are unlikely to sag or shift like pink batts do. Their insulation rating is R2.2. We are told they have a thermal mass, so can retain heat as well as impede its flow.
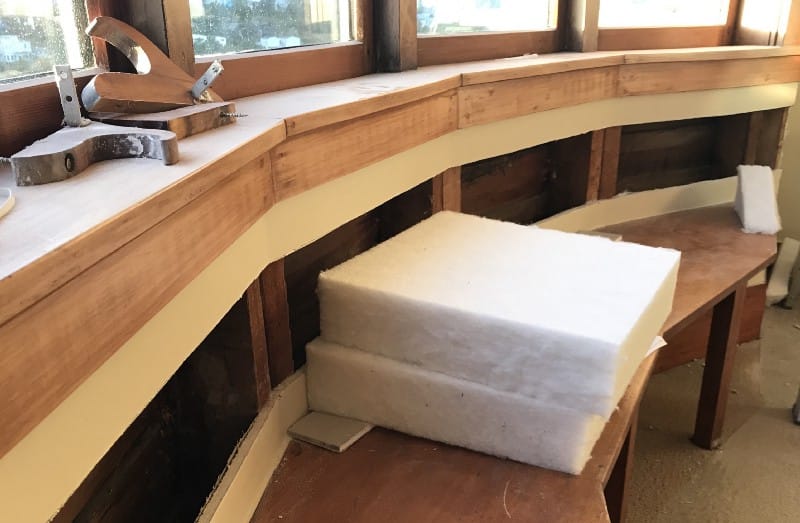
To install this insulation requires a fairly intensive effort, with large cuts being made to the internal surface of the exterior walls. Essentially, whole walls are removed, with a 15 cm margin being retained around the edges and any window frames.
This margin reduces the amount of tidy-up work and painting afterwards as the skirting board, scotia and window frames do not require painting. Only the main wall surface will require attention (in theory).
The decision
As you’ve probably guessed, we went with the more intensive option of the white batts. Although this option was more expensive, the difference was not massive. The best two quotes/estimates were about $3000 apart in price, but the more expensive option included a fully plastered solution. The cheaper price was “first skim” only. In my mind, this brought the two options a lot closer together in price.
Effort wise, the intensive option is obviously more work for us — but only to a minor extent. Both options would require a full painting of each wall surface. Perhaps the cheaper option would reduce the amount of sealer paint required, but that’s about it.
Finally, we felt that there was quite a difference between the differing companies that work in this industry. The Blow In “fluff” companies tend to use salespeople (some of whom are fast talkers). The “White Batts” companies tended to have the people who perform the installation also doing the quotes/sales work. This made the choice an easier one.
Go
It turns out that winter is a good time to get these sorts of projects done, as the builders are keen on doing inside work during winter. The project delivery is expected to take 7–10 days, and we got a firm start date of about 1 week after signing and paying the deposit.
See the Wall insulation goes in post for photos and more.